Category: Tech Reviews | Gadgets
Nintendo Switch Charging Dock Review – Is It Worth It? (Best Dock in 2026?)
A complete engineering breakdown, power delivery physics analysis, and real-world buyer’s guide for the Nintendo Switch Charging Dock.
If you have spent any time in the gaming realm over the past several years, you know that the Nintendo Switch completely changed how we think about home consoles and portable handhelds. But behind that smooth transition from playing Zelda on the couch to taking it on the train lies one unsung hero: the Nintendo Switch Charging Dock. Far from being just a piece of bent black plastic or a glorified battery charger, this cradle acts as a high-speed data junction, audio/video routing hub, and power delivery gatekeeper. In this hands-on Nintendo Switch Charging Dock Review, we are diving deep into how this piece of kit actually works, why third-party alternatives have historical risks, and whether you should pick up an official replacement or upgrade in 2026.
Whether you are replacing a broken unit, setting up a secondary dock in the bedroom, or trying to understand the technical wizardry driving your television output, you have landed in the right place. Welcome back to TheKZVerse Homepage, where we break down complex consumer tech into real-world insights you can actually use. For more deep dives on hardware, make sure to check out our dedicated Tech Reviews Section!
Hardware Architecture & System Design: What Inside the Nintendo Switch Charging Dock?
When you seat your console into the spring-loaded cradle of the Nintendo Switch Charging Dock, a surprisingly intricate hardware handshake takes place. The primary architectural objective of the dock is twofold: take in high-voltage power from an external AC adapter and extract a high-definition DisplayPort video stream out of the console’s singular bottom-mounted USB Type-C port, converting it into an HDMI signal that your TV can handle.
Inside the dock housing sits a primary Printed Circuit Board Assembly (PCBA). This internal board features specialized multiplexer ICs, power step-down buck regulators, USB hub controllers, and a DisplayPort-to-HDMI bridge chip. The second the physical union between the dock’s male USB-C plug and the Switch’s female port occurs, the Configuration Channel (CC) pins initiate a communication exchange managed by an onboard Power Delivery controller.
Once identity and safety parameters are verified, the Switch changes its internal operational profile completely:
-
- Clock Speed Boost: The Nvidia Tegra X1 Graphics Processing Unit (GPU) ramps up its operating frequency to output higher resolutions.
- Video Signal Routing: The console routes display data using VESA DisplayPort Alternate Mode (DP Alt Mode) directly through the high-speed data lanes of the USB-C interface.
- Power Rail Conversion: The dock steps down the incoming power supply to energize its external accessory ports while simultaneously supplying the main console battery and processing components.
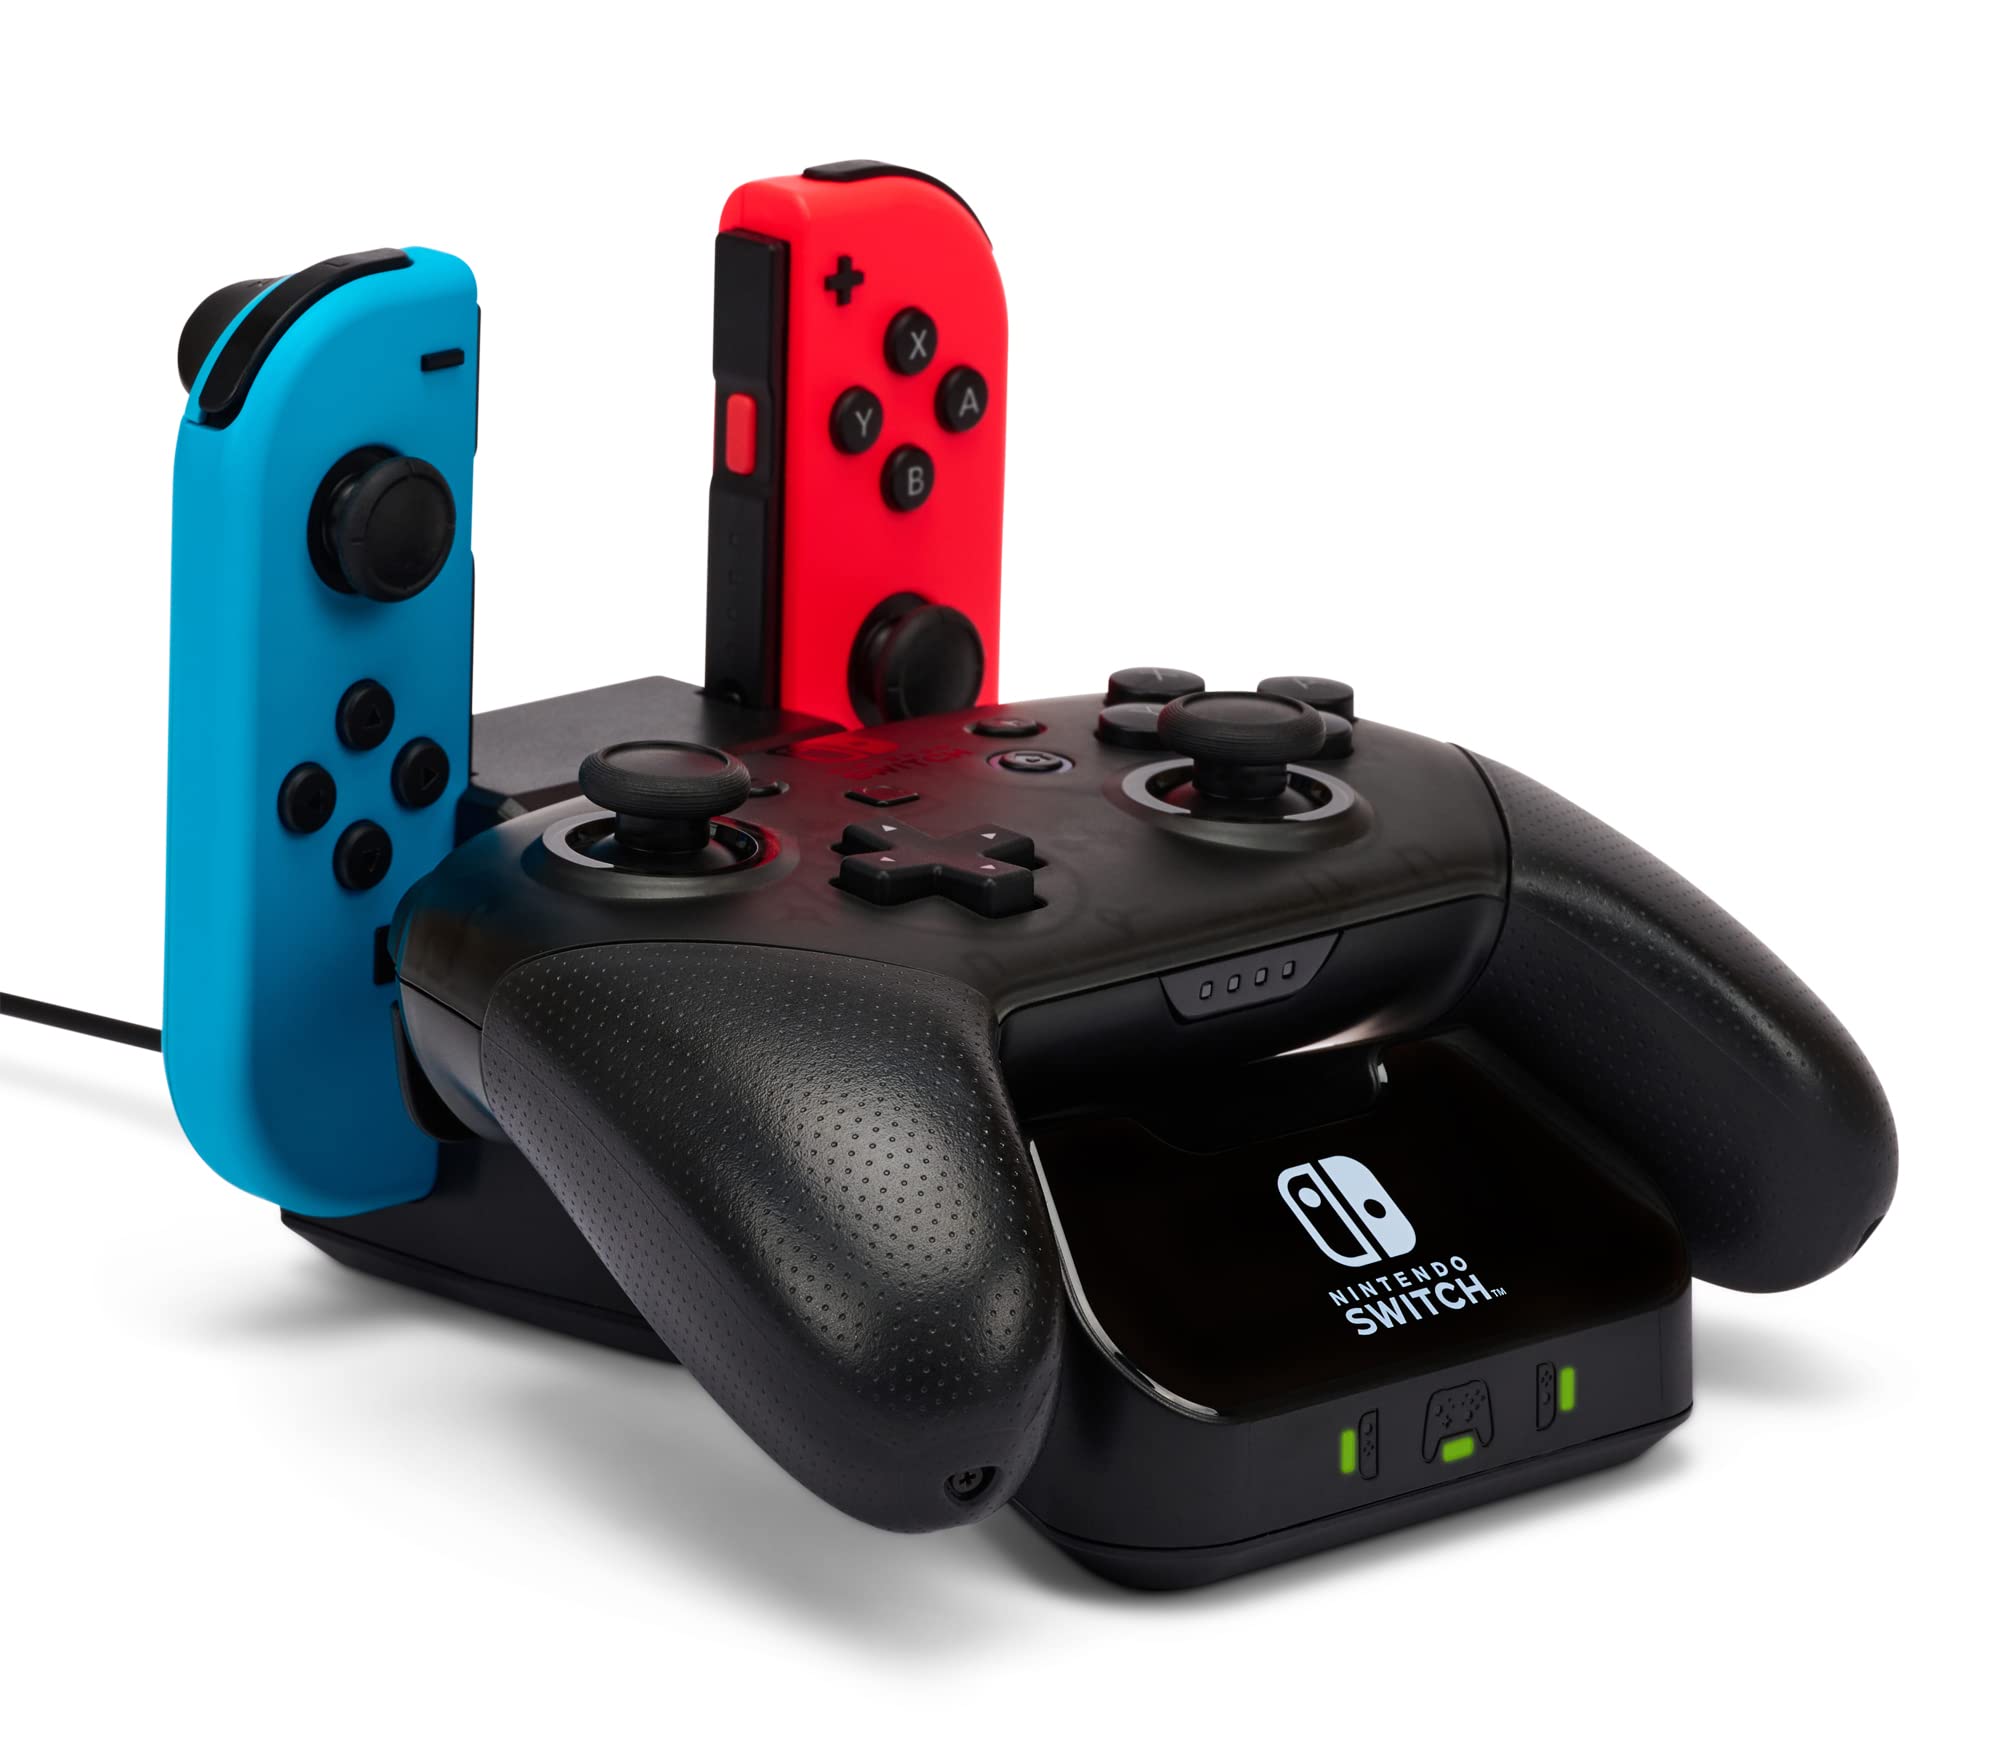
In addition to video translation, the official dock functions as an active USB hub. The classic standard dock (Model HAC-007) features two external USB 2.0 Type-A ports on its side panel—ideal for charging your Pro Controllers or plugging in wireless headset dongles—alongside a enclosed rear compartment containing a USB 3.0 port, an HDMI 1.4 output, and the primary USB-C power input socket.
Electrical Engineering & Power Delivery Physics: Decoding the 18W Limit
To truly understand how the Nintendo Switch Charging Dock manages power, we need to inspect the numbers. The official Nintendo Switch AC Adapter (Model HAC-002) is engineered to deliver two specific power profiles: standard legacy 5V at 1.5A (7.5W) for simple charging, and 15V at 2.6A, capable of providing up to 39W of overall maximum system power.
However, an interesting electrical dynamic occurs when docked. While the external power brick is rated for 39W, empirical electrical analysis proves that the Switch console itself enforces an absolute internal hardware draw limit of 18W maximum (15V at 1.2A). This power allocation budget breaks down logically across the entire system layout:
Out of the overall 39W headroom supplied by the wall adapter, approximately 21W is strictly reserved by the dock’s internal circuitry. This overhead powers the 5V rails powering external USB accessories, runs integrated network chipsets, offsets conversion thermal losses within the video bridge, and charges attached Joy-Con controllers docked to the sides of the console. The remaining 18W pulled by the console is split internally: around 11W powers the active Nvidia Tegra X1 SoC during demanding gaming sessions, while approximately 4.7W goes toward topping off the internal lithium-ion battery cell.
Power Draw Across Different Operational States
Understanding these draw metrics helps clarify why powering your Nintendo Switch Charging Dock with standard smartphone wall bricks rarely works for TV mode. Here is how the power profiles scale in real-world scenarios:
| Operational Context | Voltage Profile | Current Draw | Active Power Draw | System Behavior |
|---|---|---|---|---|
| Handheld Gaming (Low Brightness) | 5V (Internal) | ~1.42A | ~7.1W | Minimum display backlight, active baseline SoC load. |
| Handheld Gaming (Max Brightness) | 5V (Internal) | ~1.78A | ~8.9W | Maximum display brightness, full handheld SoC clocks. |
| Docked Gaming (Fully Charged) | 15V | ~0.73A | ~11.0W | Console docked, battery at 100%, high GPU clock boost active. |
| Docked Gaming (Charging Console) | 15V | ~1.05A | ~15.7W | Active gameplay while simultaneously fast-charging internal battery. |
| Docked Gaming (Max Load + Joy-Cons) | 15V | ~1.18A | ~17.7W – 18.0W | Absolute maximum stress state; hardware limits draw strictly at 18W. |
| Sleep Mode (Console Only) | 15V / 9V PD | ~0.65A (15V) | ~9.8W | Rapid charging active, display off, background downloads enabled. |
When playing in handheld mode, the console is far more forgiving. It can pull power from lower-voltage legacy chargers. Standard USB-A chargers lack USB Power Delivery (USB-PD) negotiation capabilities, defaulting to 5V, where the Switch limits draw to 1.5A (7.5W). Standard non-PD USB-C wall chargers providing 5V at 3A are capped by internal hardware to a 2.0A maximum draw (10W).
However, when placed in the Nintendo Switch Charging Dock, TV Mode strictly demands a dedicated 15V power rail. The dock’s internal chip logic will flat-out refuse to process TV video output if supplied with standard 5V or 9V phone chargers. It requires a fully compliant USB-PD source capable of delivering 15V at a minimum of 2.6A to satisfy both the dock’s auxiliary hub requirements and the console’s 18W maximum demand.
If you’re looking for replacement adapters that correctly hit these profiles, check out our recommended gear links below or read our detailed guide in our Unboxings Section for complete teardowns.
Buy the Official Nintendo Switch Power Supply on Amazon
Model Evolution: Standard (HAC-007) vs. OLED (HEG-007) Docks
With the launch of the Nintendo Switch OLED Model, Nintendo released an overhauled dock platform bearing model number HEG-007. While fully backward-compatible with original standard Switch consoles (and original docks work with the OLED console), the HEG-007 dock represents a major structural and silicon upgrade.
The structural transformation between dock revisions involved re-engineering key internal hardware blocks. The original HAC-007 dock features two exterior USB 2.0 ports, one interior USB 3.0 port, an HDMI 1.4 video port capped at 1080p output, and a MegaChips DP-to-HDMI conversion chip operating on fixed internal EEPROM firmware. The newer OLED HEG-007 dock keeps the two exterior USB 2.0 ports but replaces the internal USB 3.0 port with a native RJ45 Gigabit Ethernet port. Furthermore, it updates display output to an HDMI 2.0 interface powered by an advanced Realtek RTD2172N 4K multimedia SoC and introduces user-updatable dock firmware through the console OS.
| Feature / Specification | Standard Dock (HAC-007) | OLED Dock (HEG-007) | Architectural Significance |
|---|---|---|---|
| External USB Ports | 2x USB 2.0 Type-A | 2x USB 2.0 Type-A | Low-speed peripheral access (wired controllers, audio). |
| Internal Ports | 1x USB 3.0 Type-A | 1x RJ45 Gigabit Ethernet | HEG-007 offers low-latency native wired internet connection. |
| Video Interface | HDMI 1.4 Standard | HDMI 2.0 Standard | HEG-007 supports significantly higher display bandwidth rails. |
| Video Bridge Chipset | MegaChips STDP2550 | Realtek RTD2172N SoC | Realtek controller is a full 4K UHD multimedia bridge. |
| Max Physical Output | 1080p @ 60 Hz | 4K @ 60 Hz / HDR Capable | Dock hardware natively supports 4K/60Hz, limited by Switch OS. |
| Firmware Updates | Non-updatable EEPROM | Updatable via System Settings | Nintendo can flash patches for compatibility and networking. |
| Included HDMI Cable | Standard High-Speed | Ultra High-Speed (4K Ready) | Physical cable hardware supports high-bandwidth HDMI 2.0 specs. |
Replacing the internal USB 3.0 port with a built-in Gigabit Ethernet jack directly solves online multiplayer latency and packet loss. Instead of needing a separate USB-to-Ethernet dongle that consumes USB bus bandwidth, the HEG-007 dock integrates network logic directly into the controller architecture.
At the silicon level, hardware teardowns revealed that the Realtek RTD2172N multimedia chip inside the OLED dock is fully capable of processing 4K UHD signals at 60 frames per second with High Dynamic Range (HDR). While original Switch hardware restricts final video output to 1080p, the trace layout, signal pipeline, and bundled cables of the HEG-007 dock are engineered with futuristic headroom. Furthermore, OS-level firmware flashability added in System Update 13.0.0 lets Nintendo tune power states and handshake timing over time.
If you’re interested in checking out how this compares to other console hardware setups, pop over to our analysis on the Gadgets Category Page!
Anatomy of Third-Party Dock Bricking (“Brick-Gate”): What Really Happened?
Shortly after the launch of the original Nintendo Switch, internet forums were flooded with horror stories: users were buying cheap, portable third-party docks for travel, only to have their consoles permanently destroyed—a disaster dubbed “Brick-Gate.” Consoles would suddenly refuse to take a charge, fail to turn on entirely, or get trapped in permanent recovery loops accompanied by Error Code 2101-0001.
Early theories falsely claimed that Nintendo was utilizing non-standard, aggressive proprietary USB-C protocols to punish users who bought unofficial accessories. However, thorough hardware reverse-engineering revealed the actual culprit: severe engineering shortcuts and cost-cutting measures inside unlicensed third-party docks.
The Hardware Gatekeepers
To understand why these failures occurred, one must look at four critical microchips mounted on the Nintendo Switch mainboard:
| Integrated Circuit (IC) | Manufacturer | Primary System Function | Critical Vulnerability Point |
|---|---|---|---|
| M92T36 | ROHM Semiconductor | USB Power Delivery Management & Handshaking | Configuration Channel (CC) pins rated max 6.0V absolute. |
| BQ24193 | Texas Instruments | Lithium-Ion Battery Charger & Power Rail Distribution | Fails if thermal calibration resistors receive unstable input. |
| PI3USB30532 | Pericom / Diodes Inc. | USB 3.0 & DP Alt Mode Matrix High-Speed Switch | Vulnerable to direct Electrostatic Discharge (ESD) damage. |
| MAX77621 | Maxim Integrated | CPU / GPU Core DC-DC Buck Voltage Regulator | Fails if input voltage rails fluctuate erratically. |
The ROHM M92T36 Vulnerability: The 6V Ceiling
The primary point of hardware failure in bricked consoles is the ROHM M92T36 Power Management IC. This component acts as the head gatekeeper for all incoming USB-C power handshakes, rail step-downs, and video routing permissions. According to ROHM’s official technical specification sheets, the Configuration Channel (CC) communication pins on the M92T36 have a strict maximum voltage rating of 6.0 Volts.
If incoming voltage on either pin CC1 or CC2 spikes above 6.0V for even a microsecond, the internal silicon gates break down, causing a permanent short-circuit to ground. Once shorted, the chip can no longer execute power handshakes, rendering the Nintendo Switch incapable of holding a charge or booting up.
Two Devastating Third-Party Engineering Flaws
- Microcontroller PD Emulation: To bypass paying for dedicated USB Power Delivery hardware controllers, cheap dock makers used general-purpose microcontrollers loaded with crude emulation code. Some of these chips erroneously pushed 9V signal pulses straight down the CC line to force power bricks to jump voltage steps. Sending a 9V signal into a 6V-rated pin instantly fried the M92T36 chip.
- Mechanical Pin Tolerances & Bridging: A standard USB Type-C connector houses 24 individual pins within a microscopic form factor, resulting in a tiny pin-to-pin pitch of just 0.5mm. High-voltage 15V VBUS power pins sit directly next to the delicate CC signal pins. Cheap third-party docks with loose plastic guide rails allowed the USB-C plug to wobble during insertion or removal. This physical displacement caused 15V power pins to touch adjacent CC pins, dumping 15V directly into the 6V-rated chip.
Additionally, cheap legacy charging cables missing the mandatory 56kΩ pull-up resistor caused non-docked charging issues. Without that critical 56kΩ resistor, devices are falsely informed that legacy chargers can supply 3A, leading to overloaded power bricks and dangerous voltage drops.
Diagnostic Protocols, Error Codes & Board-Level Repair
If your official Nintendo Switch Charging Dock or docked system encounters an error, it usually signals trouble through clear visual indicators. The most common symptom is a continuously flashing green light on the dock’s front indicator panel.
Troubleshooting the Blinking Green Light
A blinking green status light means the dock’s internal controller has detected a communication handshake breakdown, an HDCP digital copy-protection handshake trip, or an active over-current power protection safety shutdown. When this trip occurs, the dock cuts power to the output rails to protect the hardware.
Before assuming your hardware is dead, execute Nintendo’s official power discharge reset protocol:
- Disconnect all cords—including the HDMI cable and AC adapter—from both the wall outlet and the rear dock panel.
- Unseat the Nintendo Switch console completely from the dock cradle.
- Leave all components fully unpowered for at least 30 to 60 seconds to completely clear residual power from internal capacitors.
- Plug the official AC adapter directly into a dedicated wall socket (bypassing unrated power strips or overloaded surge protectors) and connect it back into the dock.
- Reattach your HDMI cable securely to both the dock and the TV.
- Re-seat the console firmly into the cradle to re-initialize fresh communication handshakes.
If the console remains unresponsive, force a hard system reboot by holding the top hardware power button down for 20 continuous seconds to clear cached power states.
Board-Level Repair for Error Code 2101-0001
When soft reset steps fail and the screen displays Error Code 2101-0001, the system requires professional board-level micro-soldering. Diagnostic technicians utilize digital multimeters set to diode testing mode to isolate ground shorts around the main PMIC area:
- Place the multimeter’s red probe onto a known copper ground pad on the motherboard.
- Use the black probe to measure voltage drops across the ceramic decoupling capacitors surrounding the ROHM M92T36 IC.
- Under normal operational conditions, healthy capacitors register a diode reading between 0.400V and 0.650V.
- If a capacitor reads 0.000V on both ends, a direct internal short to ground inside the M92T36 is confirmed. The damaged IC must be removed with a hot-air rework station operating at 350°C and replaced with a fresh chip.
If you’re tackling DIY electronics repairs or tech overhauls, drop by our Tech Reviews Section for tool recommendations!
Market Alternatives, Portable Travel Docks & Key Consumer Metrics
Given the bulk of the standard cradle, many gamers look for compact travel options. But navigating the market requires careful attention to safety specs. When weighing your options, keep these key buying factors in mind:
Official OEM Docks (HAC-007 / HEG-007)
- Pros: 100% full protocol compliance, completely safe for console warranties, spring-loaded guide slots prevent port stress, available with native Ethernet (HEG-007).
- Cons: Bulky plastic housing takes up room in travel bags, enclosed front panel can scuff bare screens if docked carelessly.
Third-Party Compact Travel Hubs & Dongles
- Pros: Highly portable form factor, affordable pricing, open physical designs allow better cooling airflow.
- Cons: Requires careful verification of hardware-level USB-PD controllers, mechanical guide tolerances vary wildly between cheap brands.
Shop Highly-Rated Verified Switch Accessories on Amazon
Essential Buying Rules for Portable Docks
- Hardware USB-PD Verification: Only purchase travel docks that explicitly advertise dedicated hardware Power Delivery chips rather than micro-controller emulation.
- Mechanical Airflow & Open Cradles: Look for open designs that don’t block the bottom air intake vents of the Switch, keeping temperatures low during heavy gaming sessions.
- 56kΩ Cable Standard: If using standalone cables with portable power banks, verify the presence of an internal 56kΩ pull-up resistor.
Comparative Analysis with Next-Gen Docking Technologies
Looking at how docking standards are progressing highlights the huge shifts happening in hardware design. Next-generation hybrid consoles demand significantly higher power overhead and improved thermal management to support advanced upscaling features.
| Architecture Metric | Gen 1 Dock (Switch Standard / OLED) | Next-Gen Dock Profile (Switch 2 Class) |
|---|---|---|
| Max Power Input Profile | 39W (15V @ 2.6A) | 60W (20V @ 3.0A) |
| Console Max Power Draw | 18W (15V @ 1.2A) | 42W (15V @ 2.8A) |
| Chassis Thermal Design | Passive Housing Slot Airflow | Active Internal Dock Cooling Fans |
| Max Target Video Output | 1080p @ 60 Hz Native | 4K Upscaled Output / High Frame Rates |
The jump to a 60W overall power profile (operating at 20V and 3A) allows future-generation docks to feed up to 42W directly to docked hardware. This extra power capacity is vital for running higher GPU clock speeds, driving integrated active cooling fans within the dock housing, and processing modern image upscaling algorithms in real-time.
Pros & Cons of the Official Nintendo Switch Charging Dock
Pros
- 100% Safe Hardware Handshaking: Dedicated hardware ICs prevent voltage spikes on sensitive motherboard rails.
- Seamless TV Transition: Instant switching between handheld and television display modes without restarting games.
- Integrated Connectivity: OLED dock models include built-in Gigabit Ethernet for low-latency online gaming.
- Reliable Power Routing: Safely powers the console while simultaneously charging Joy-Cons and external accessories.
Cons
- Bulky for Travel: Rigid housing design takes up substantial space in backpacks.
- Strict Power Requirements: Refuses to trigger TV mode unless supplied with a full 15V USB-PD power profile.
- Potential Screen Friction: Rigid plastic guide slots can scuff screens if docked carelessly without a protective cover.
Frequently Asked Questions (FAQ)
Can I use a third-party USB-C phone charger for my Nintendo Switch Charging Dock?
Why is my Nintendo Switch dock light flashing green rapidly?
Is the OLED Nintendo Switch Dock compatible with the original standard Switch console?
Why did third-party docks brick Nintendo Switch consoles in the past?
Does the official Nintendo Switch Dock support 4K resolution?
Verdict & Final Thoughts: Is the Official Nintendo Switch Charging Dock Worth It in 2026?
When you weigh all the electrical physics, hardware architecture, and historical third-party safety issues, one clear takeaway emerges: the Nintendo Switch Charging Dock is a sophisticated piece of hardware. While it may look like a basic plastic stand on your media console, its internal power gatekeeping and DisplayPort-to-HDMI conversion pipelines are specifically engineered to keep your hardware safe.
If you are looking for a secondary setup for your home office or replacing a damaged unit, sticking with an official OEM dock—especially the updated OLED Model (HEG-007) with its built-in Ethernet port and updatable firmware—is the absolute safest bet. It gives you 100% peace of mind, flawless TV handshaking, and full hardware safety compliance without risking catastrophic M92T36 chip failure.
What are your thoughts on your dock setup? Have you stuck with the original OEM cradle or found a safe, ultra-compact travel alternative? Let us know in the comments below! If this guide helped you make sense of the tech inside your setup, be sure to share it with your gaming crew!
Buy the Official Nintendo Switch Docking Station on Amazon
Follow TheKZVerse Community
Stay plugged into the latest hands-on gadget reviews, teardowns, and tech buying guides across our official social channels:
- Website: TheKZVerse Main Blog
- YouTube: Subscribe on YouTube
- Instagram: Follow on Instagram
- Facebook: Like on Facebook
- TikTok: Watch on TikTok
- Threads: Join the Chat on Threads
Don’t forget to like, comment, and subscribe on YouTube to help support the channel—and visit TheKZVerse for all our long-form tech deep dives!
Subscribe to our email newsletter to get the latest posts delivered right to your email.
Comments